
 Cart (

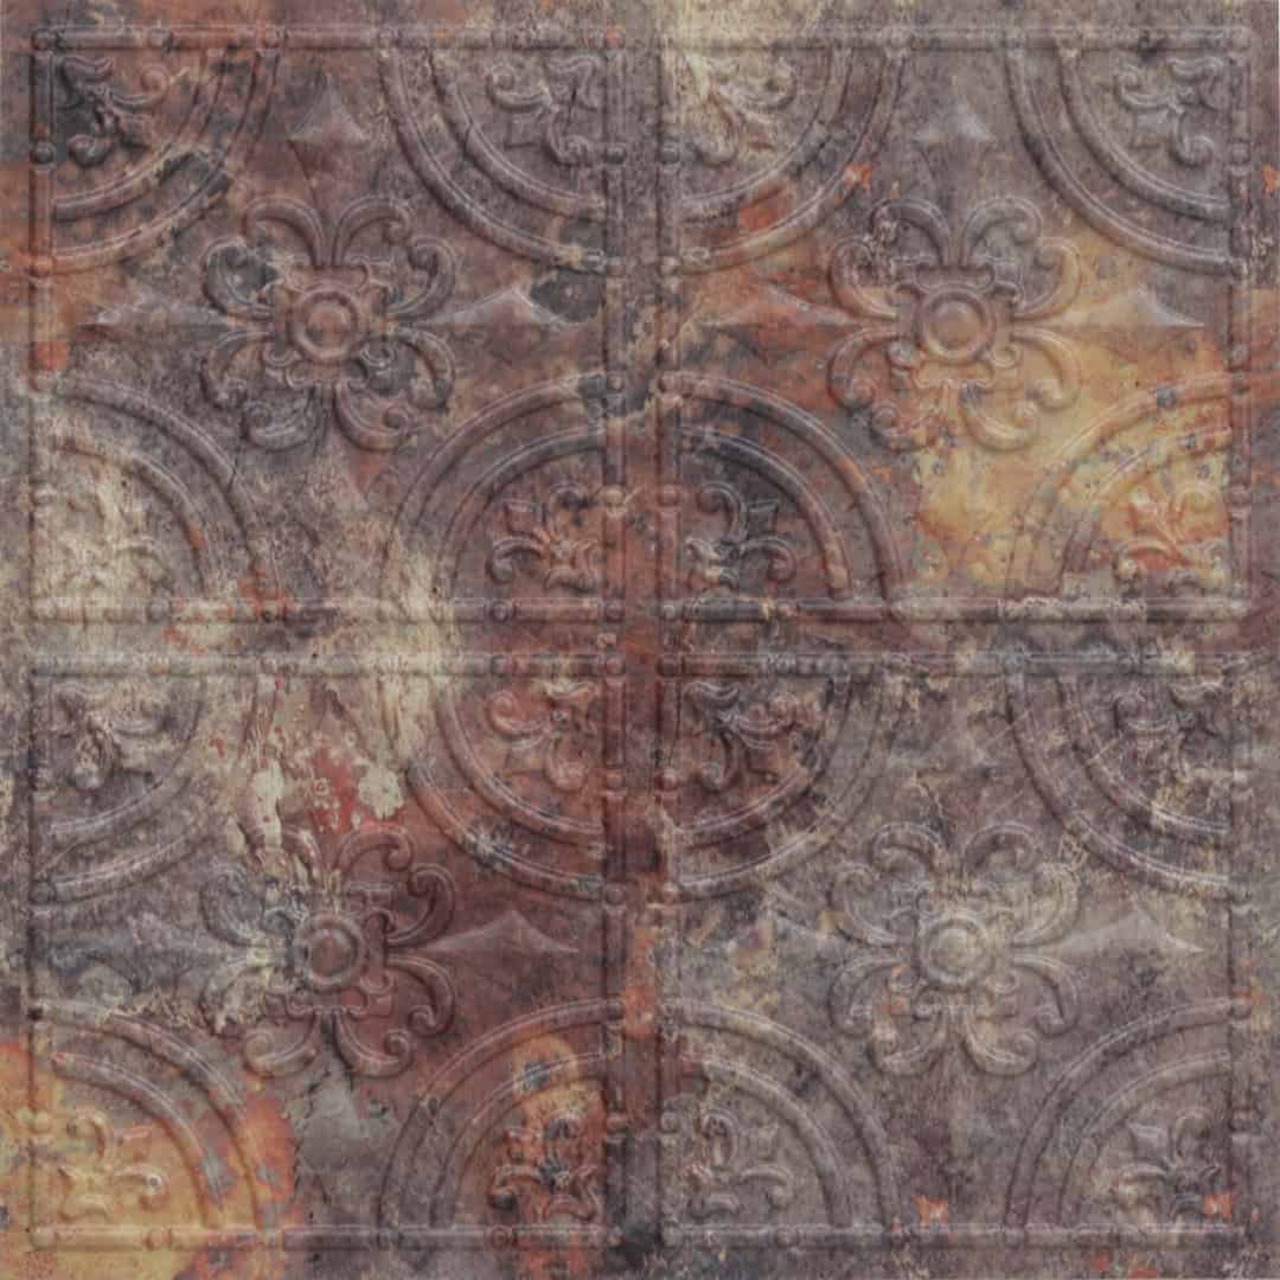
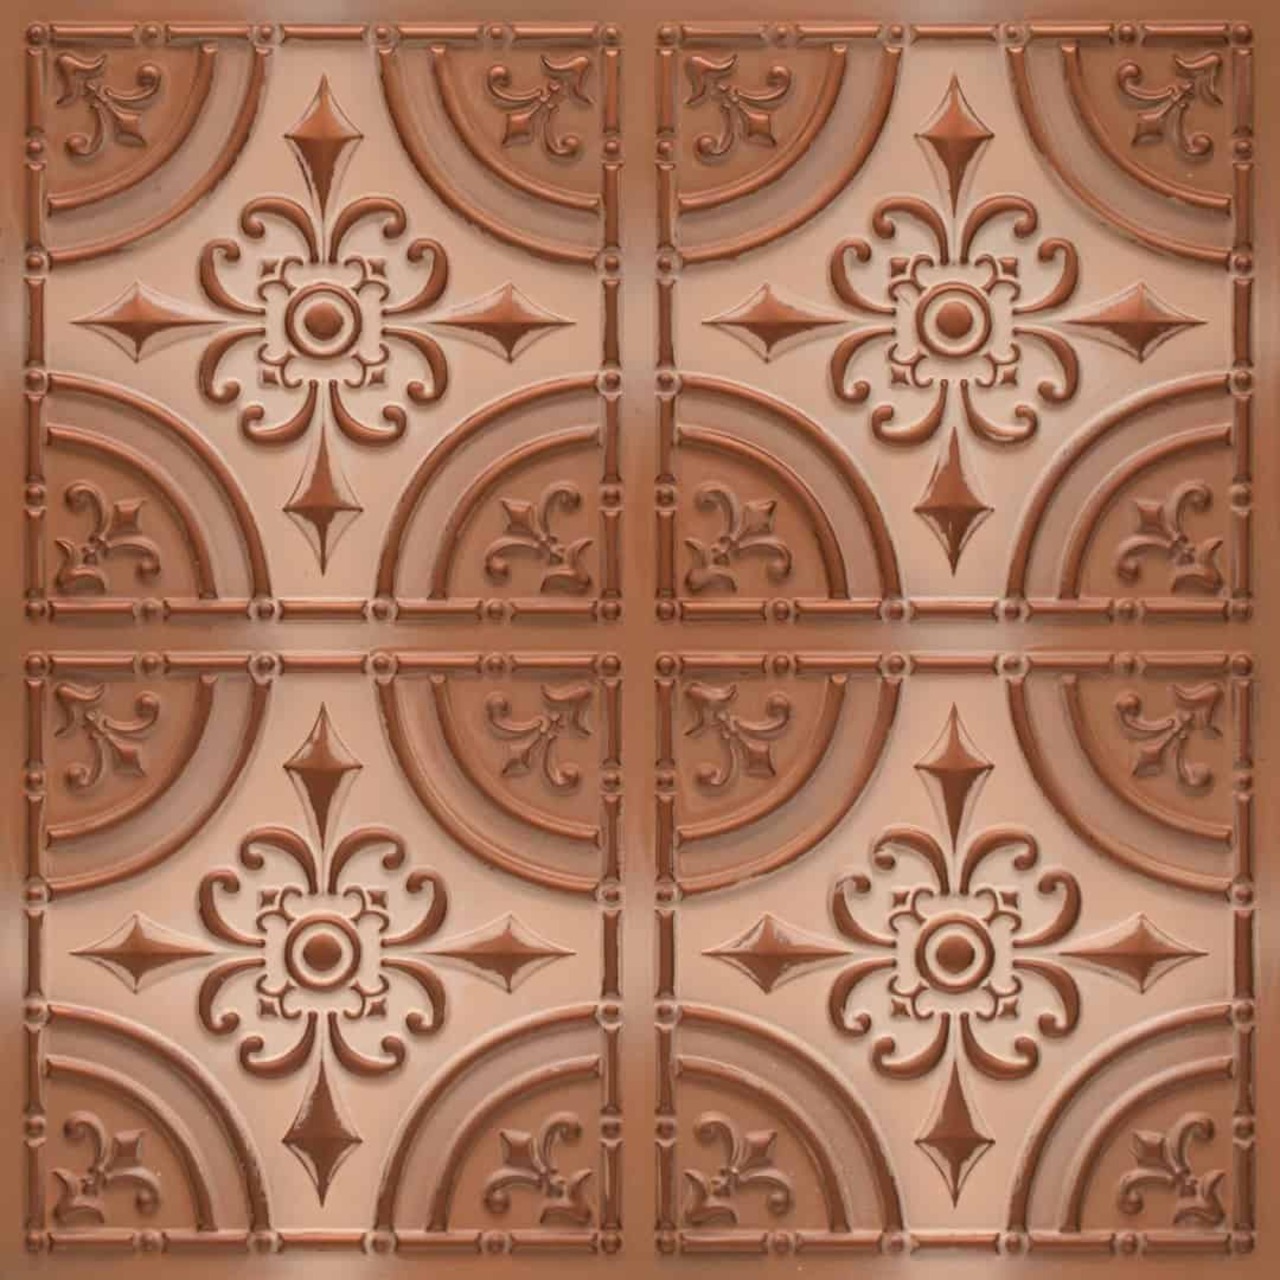





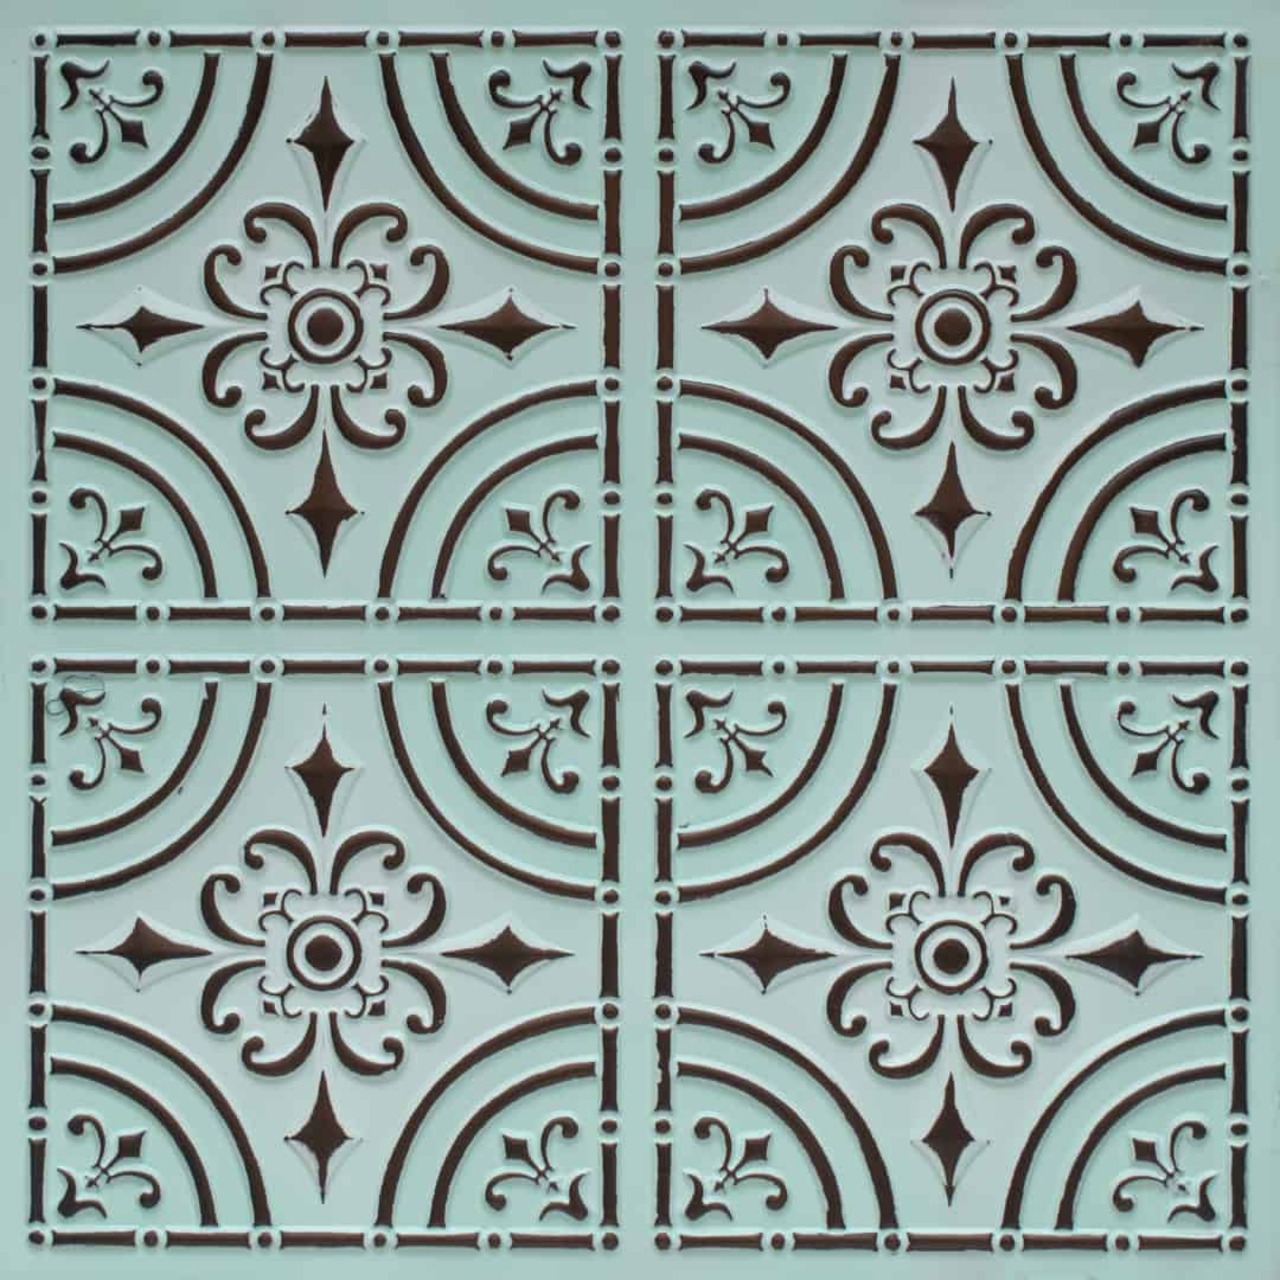
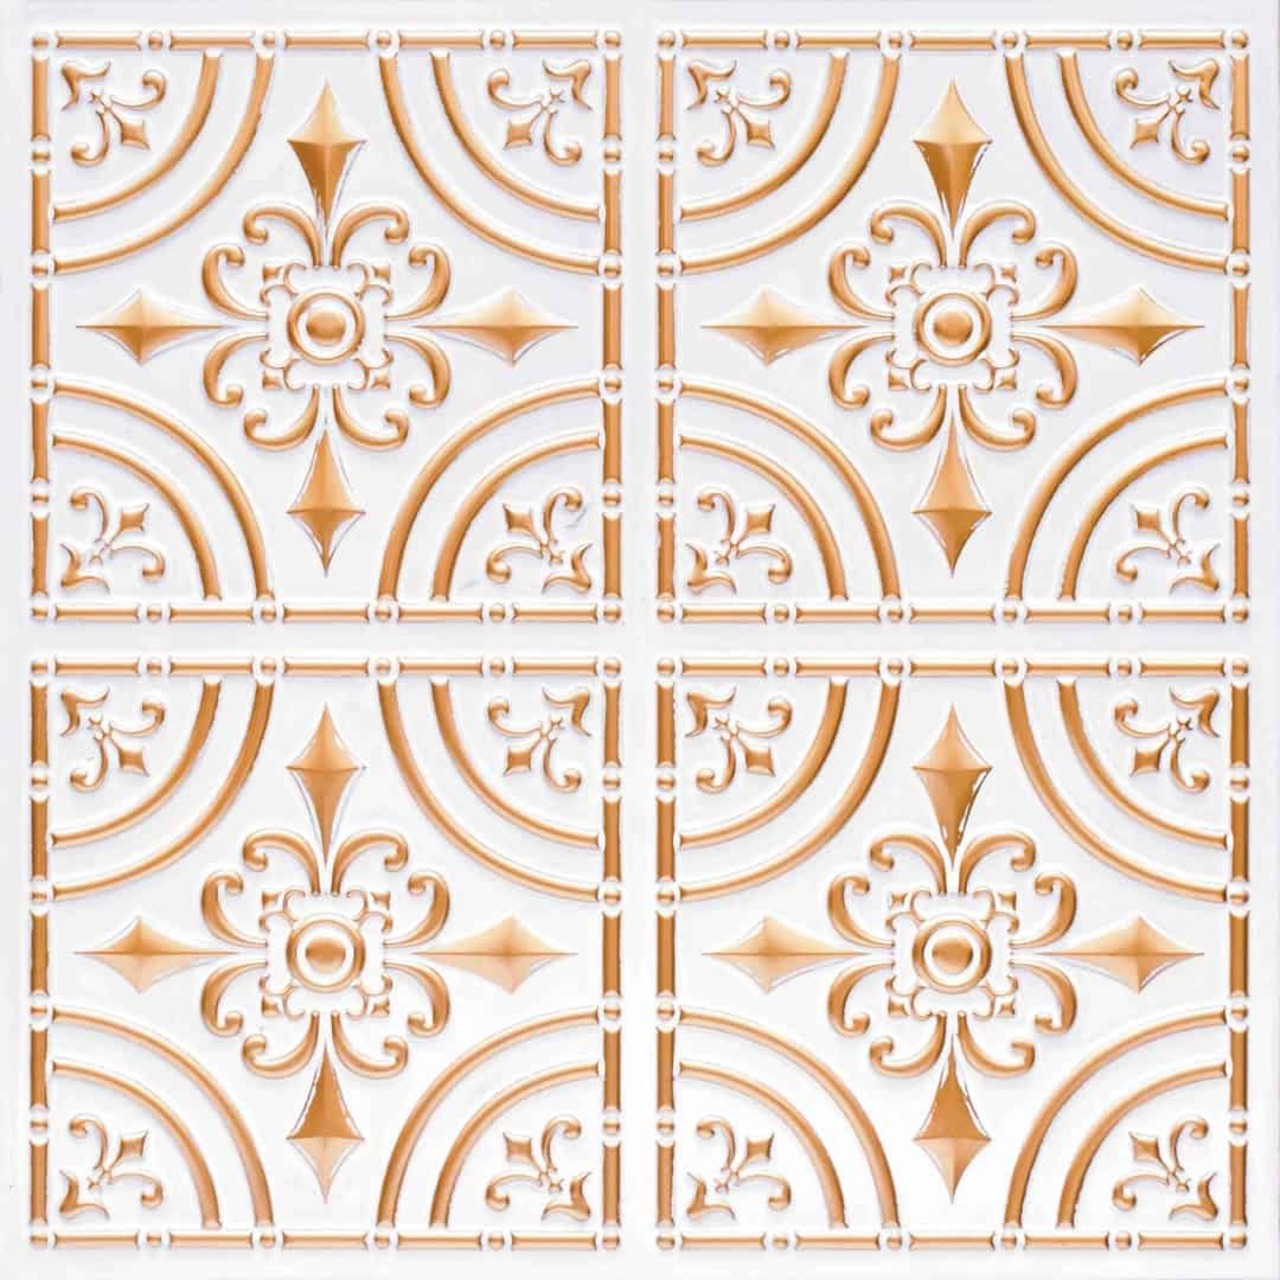


























Description
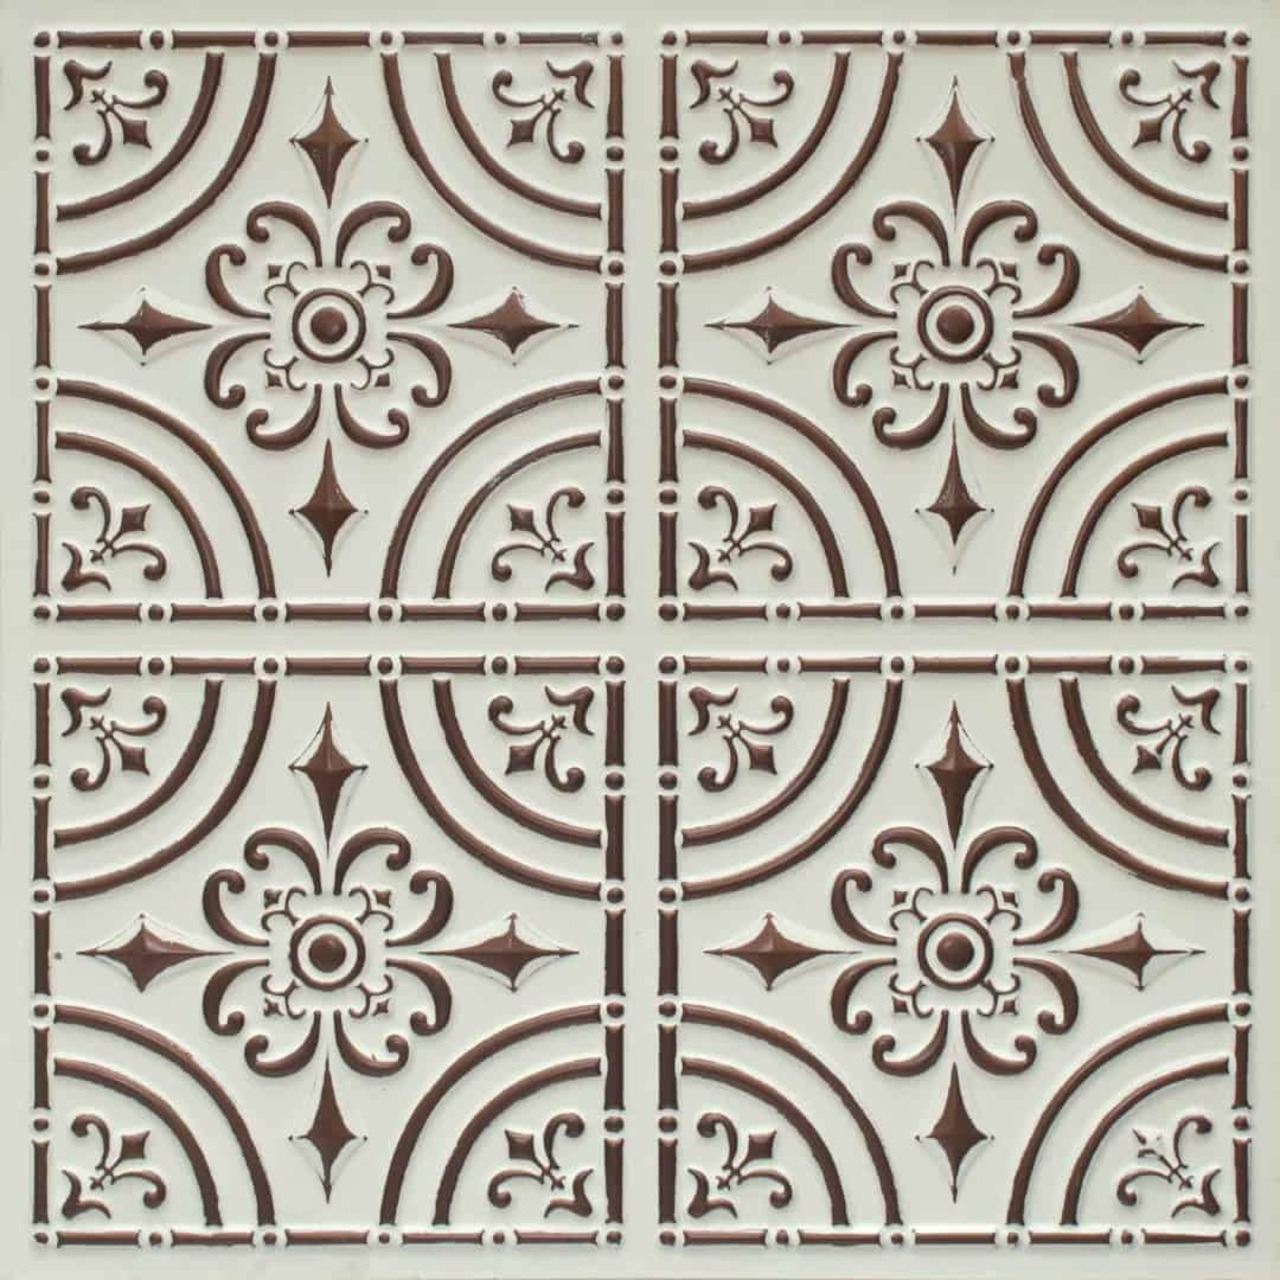
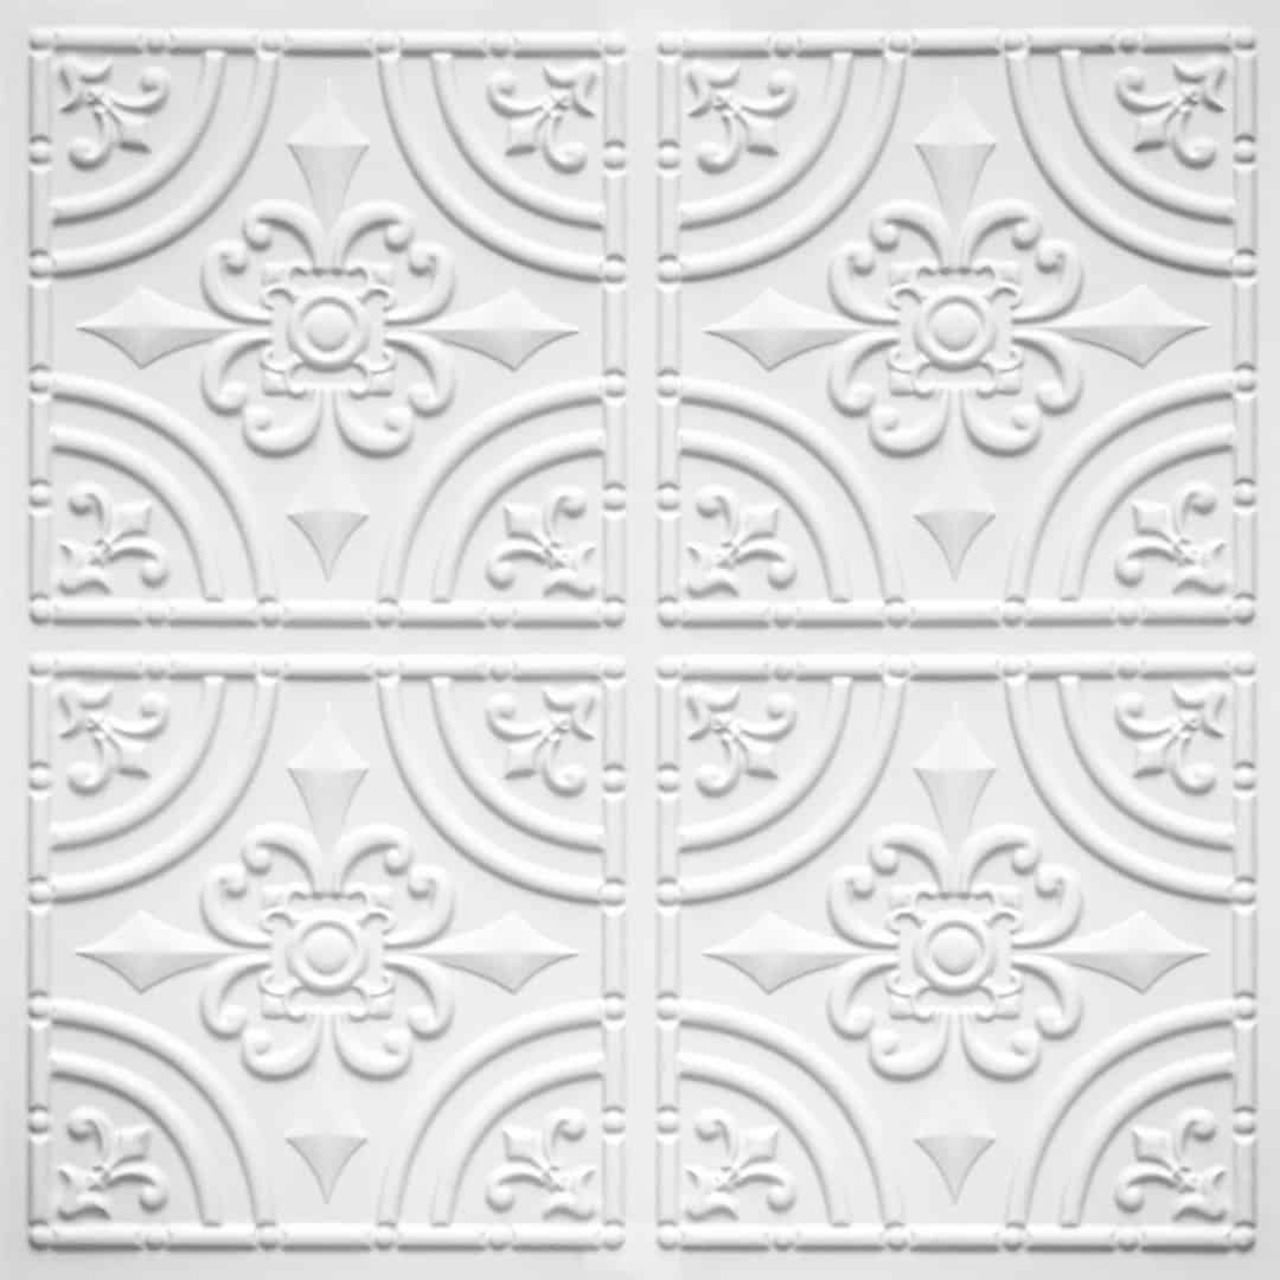
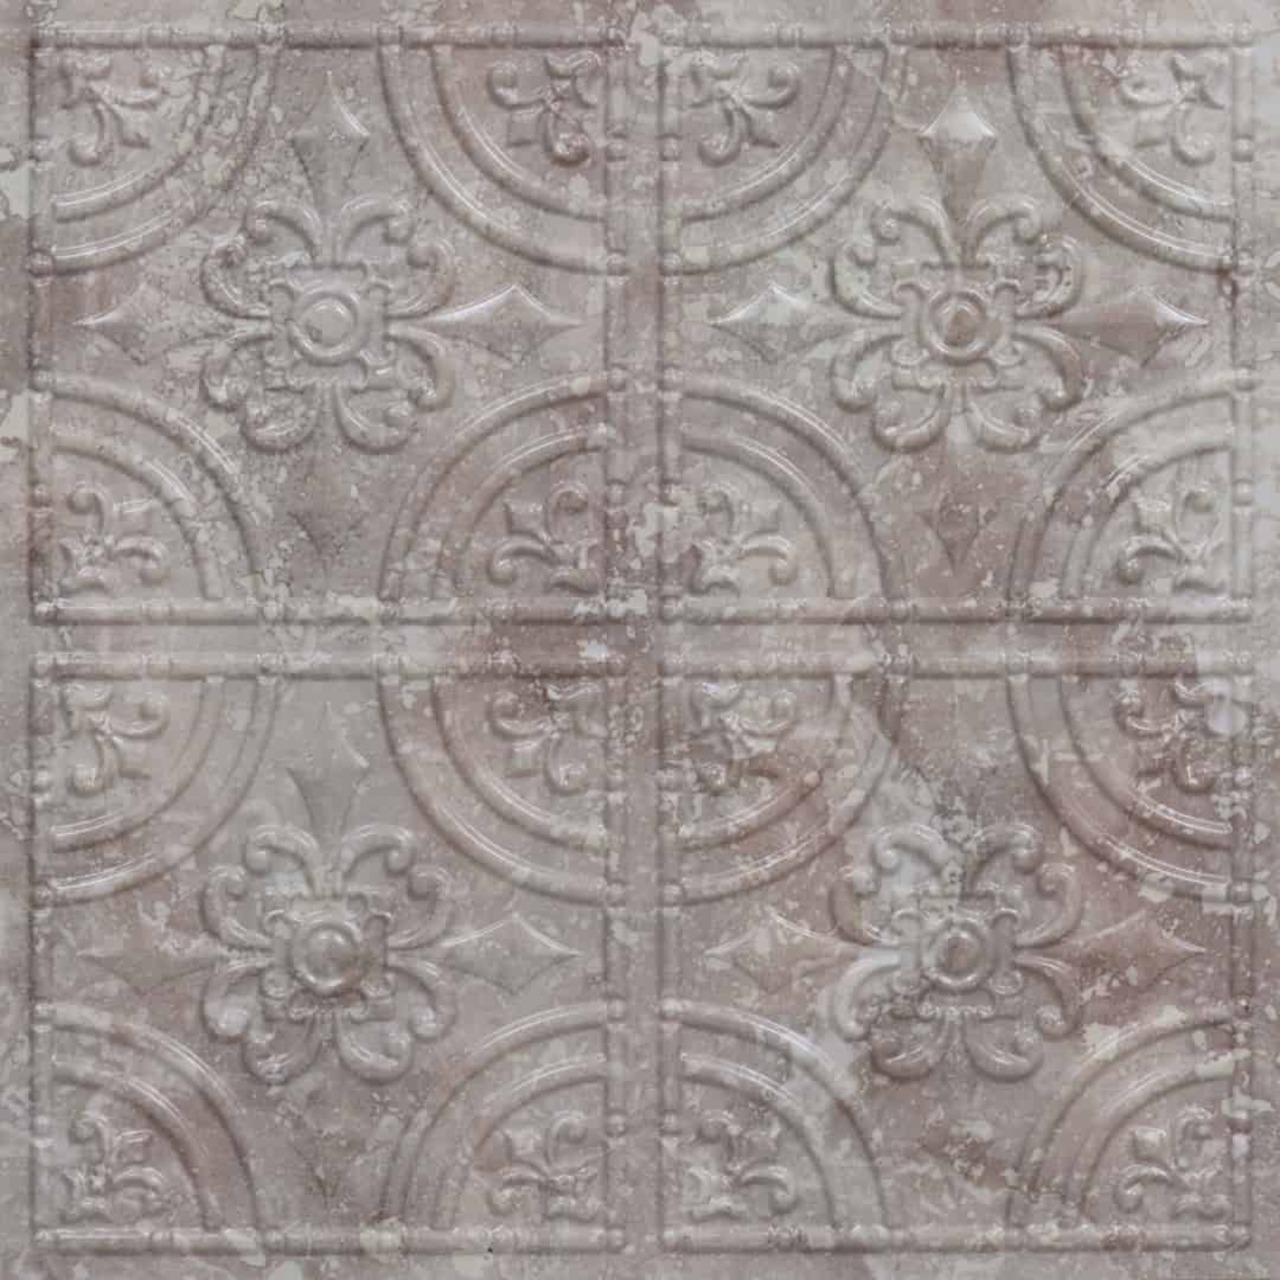
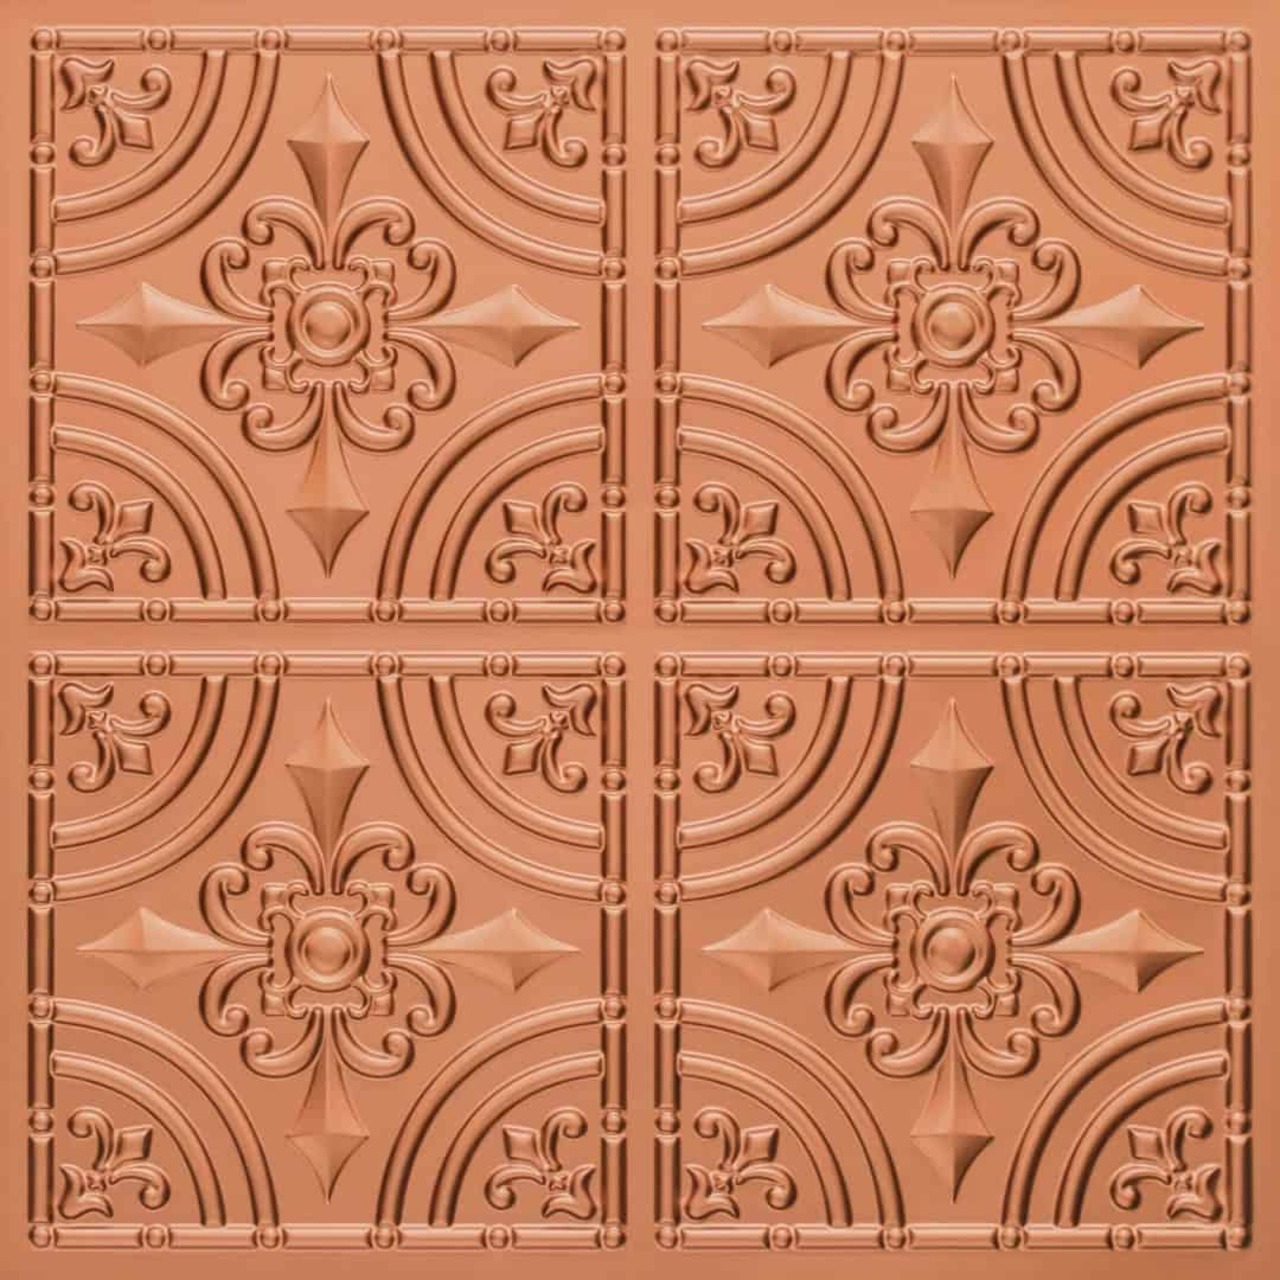
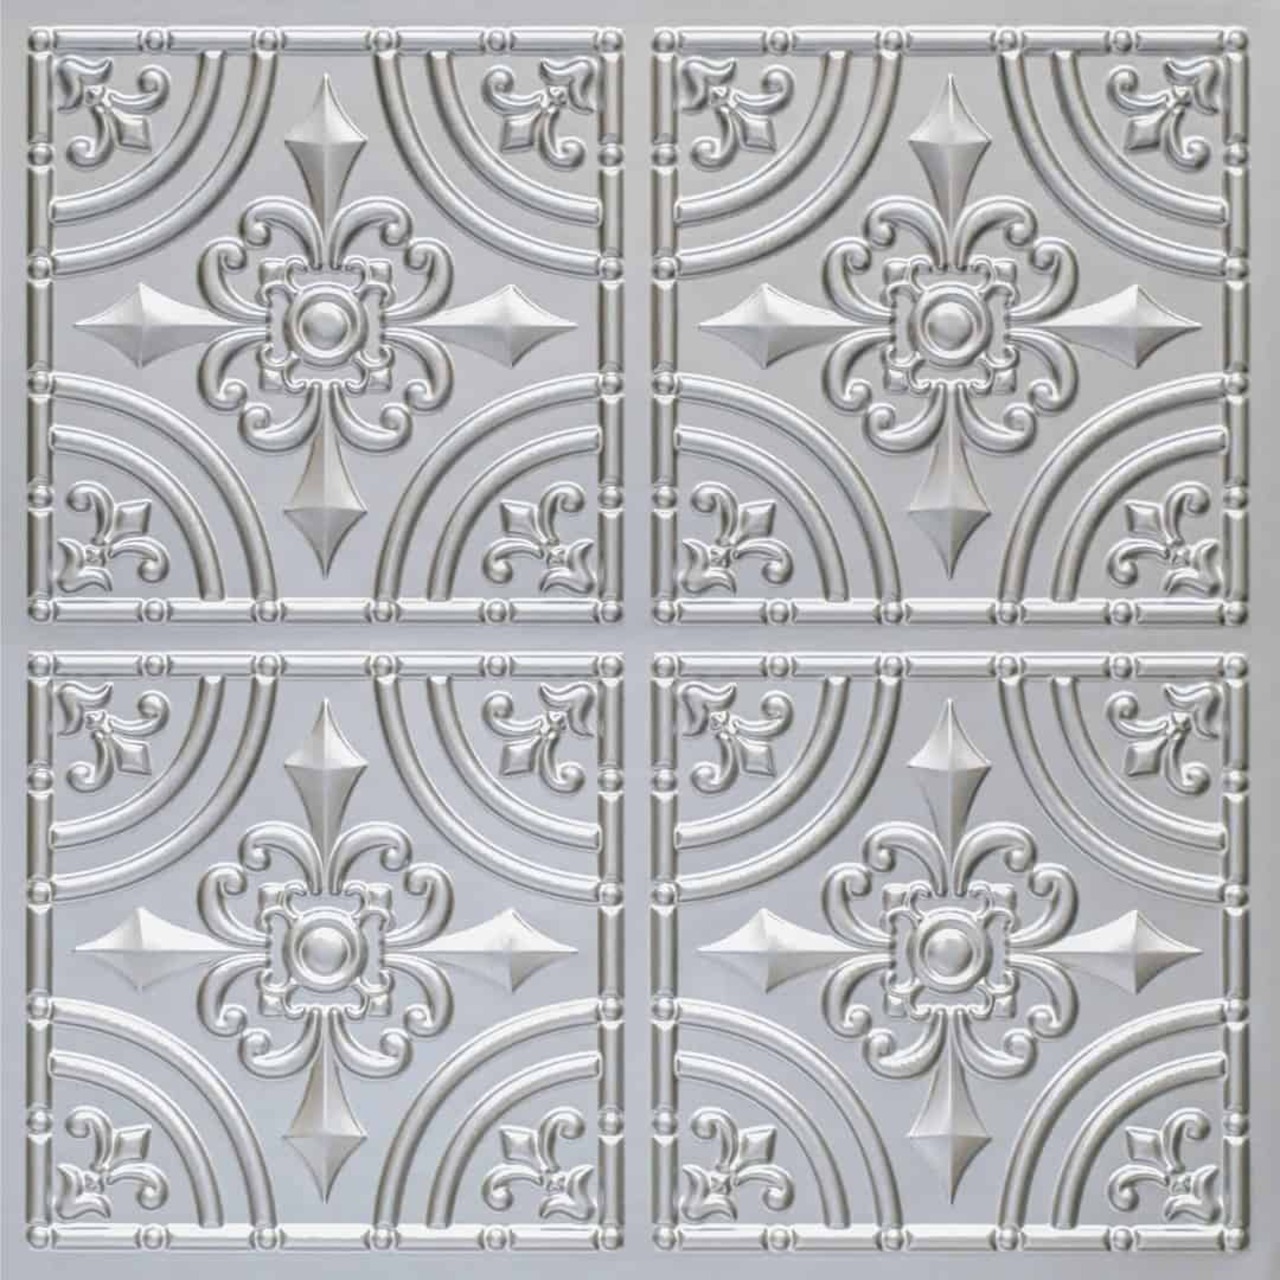
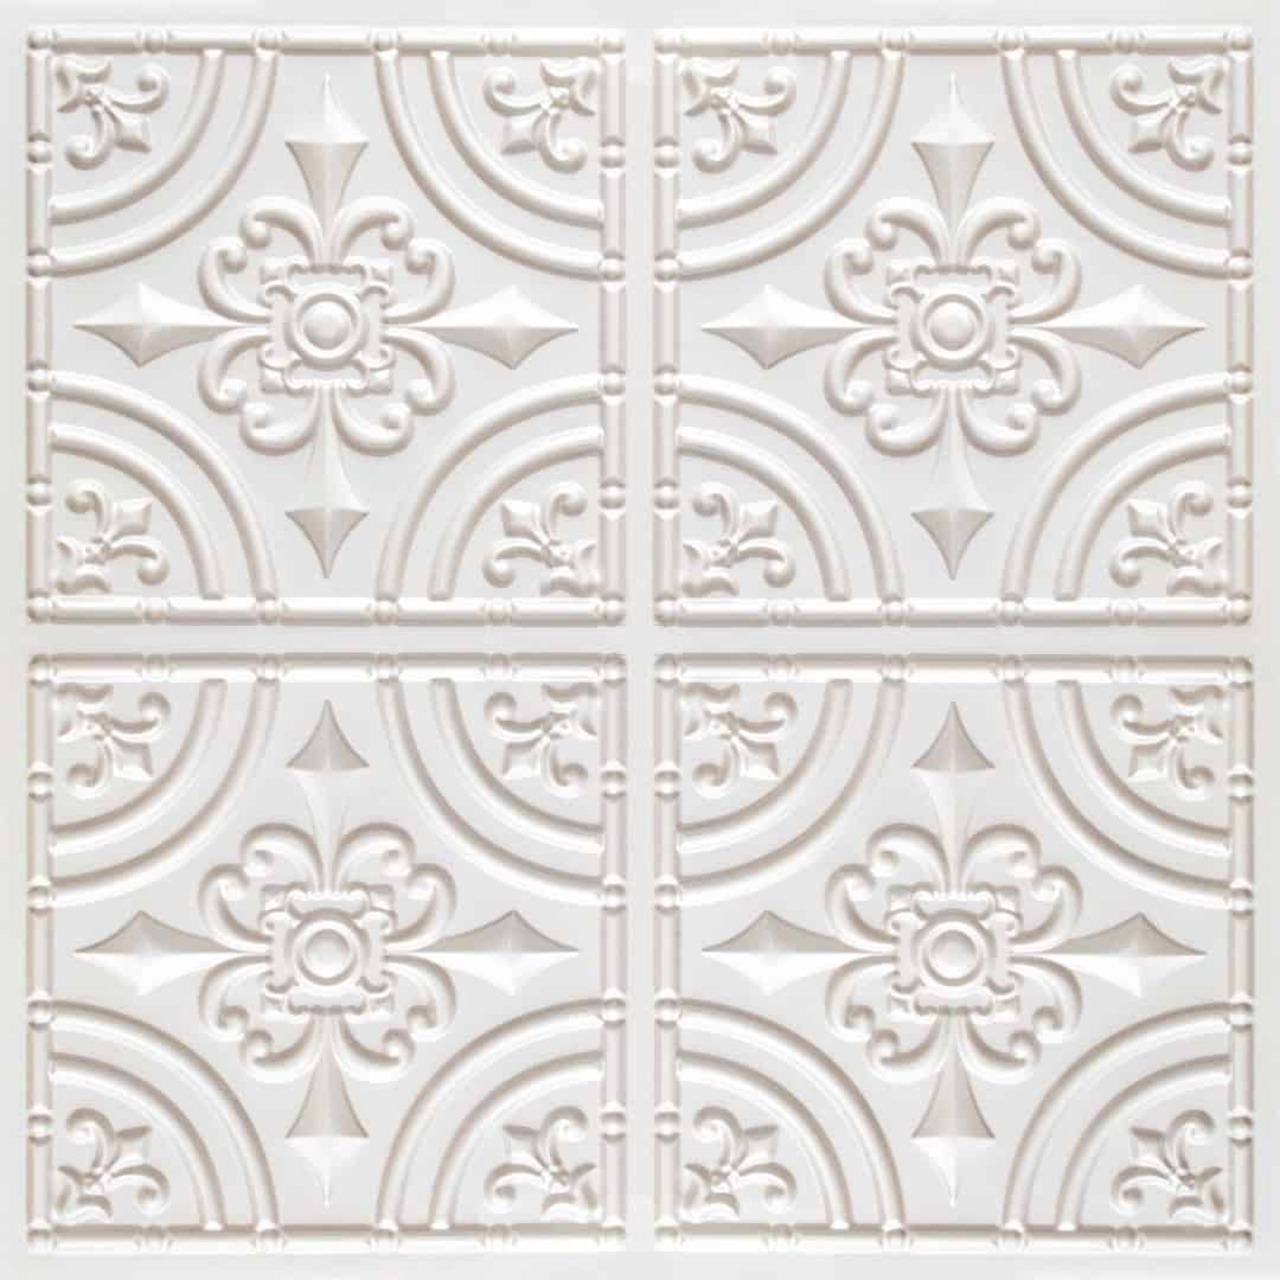
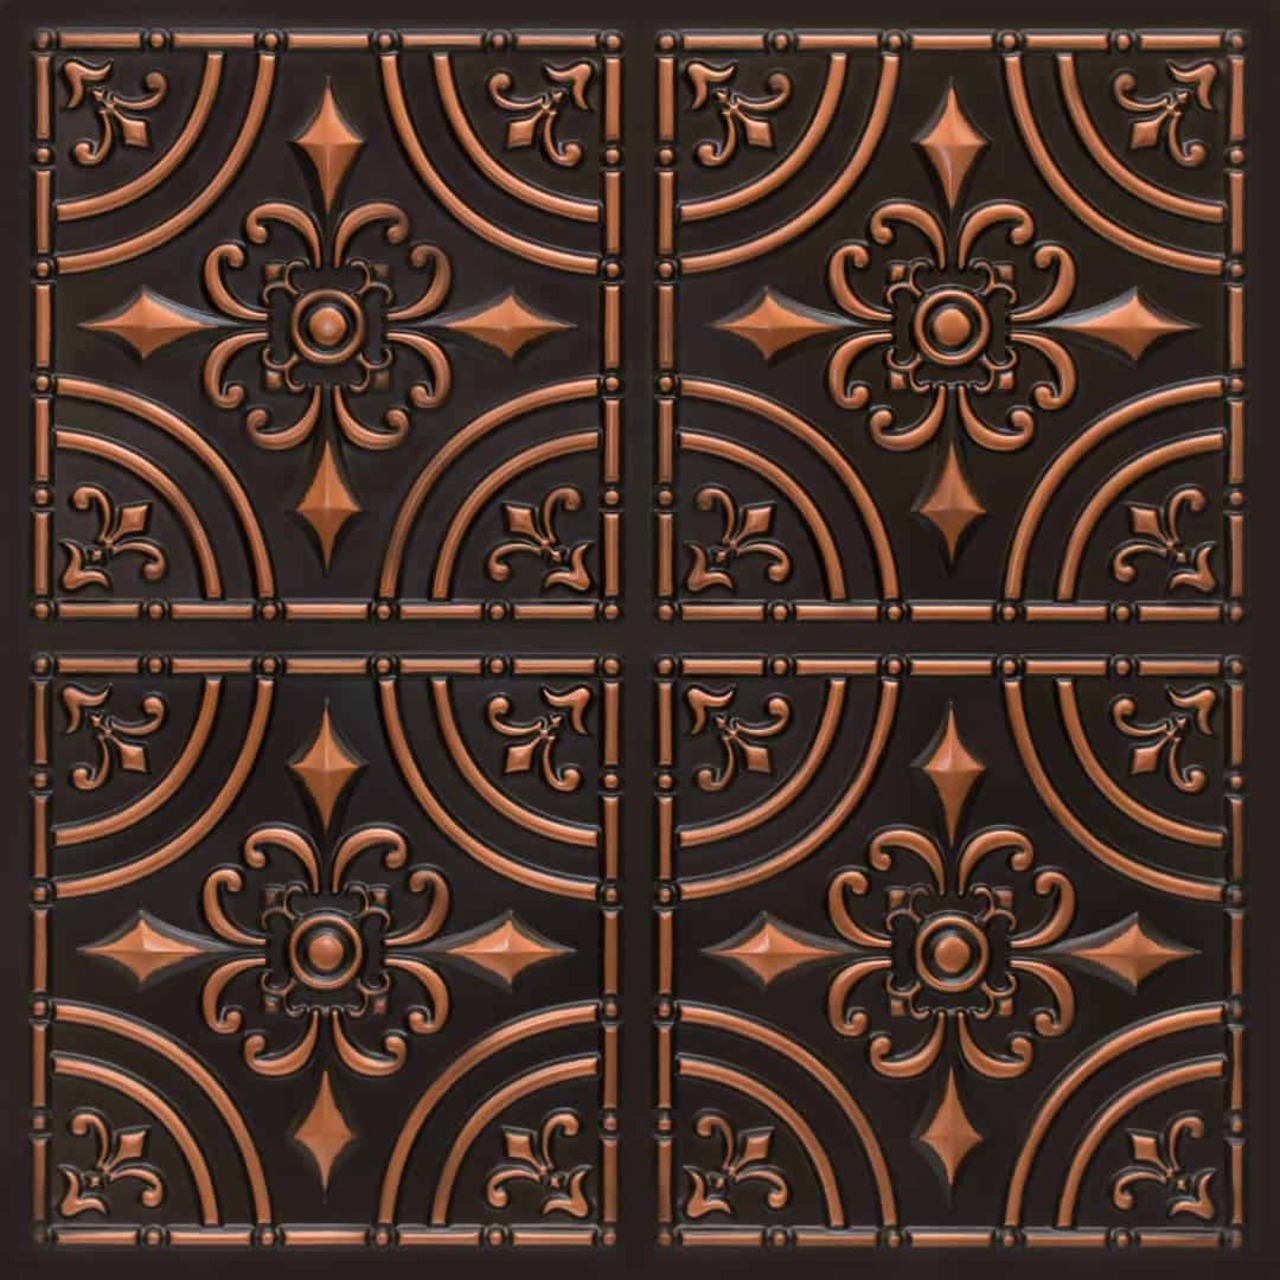
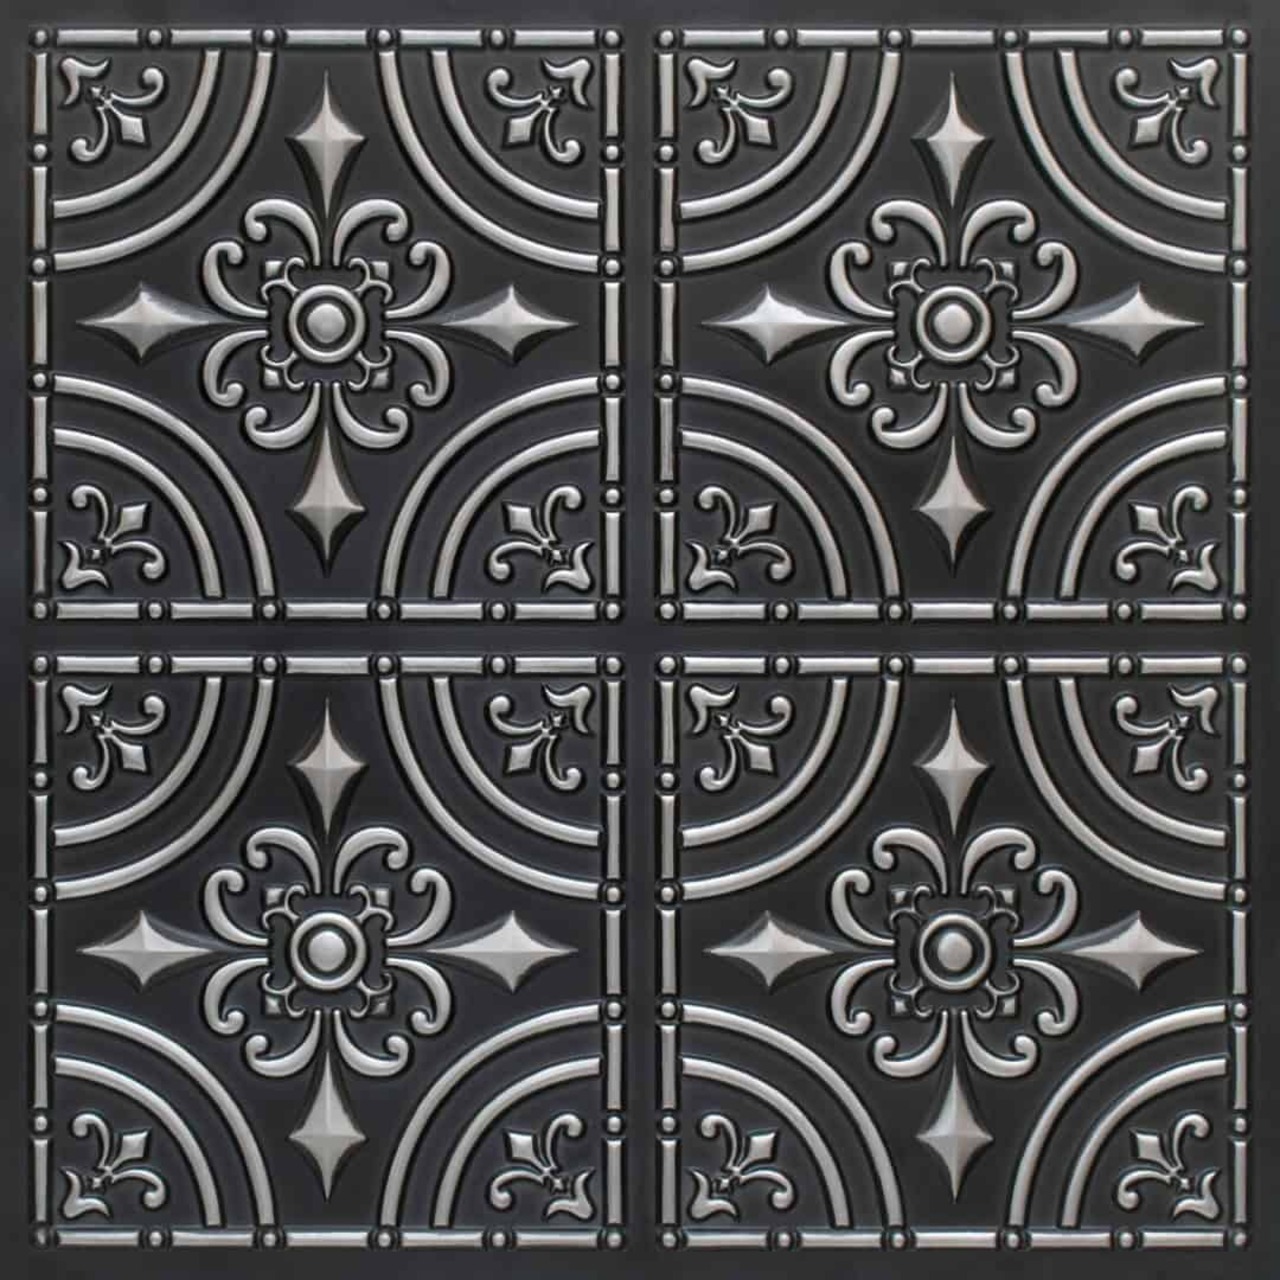
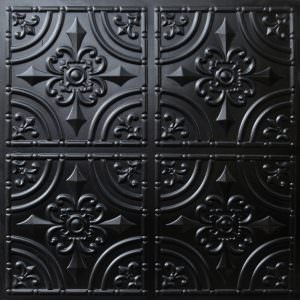
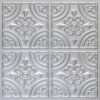
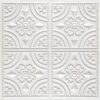
Ceiling Tiles Salvador Glue Up Design 205 N
Create a beautiful ceiling in an economical way with decorative PVC (polyvinyl chloride) ceiling tiles from Ceiling Tiles By Us. Our Ceiling Tiles Salvador Glue Up Design 205 offers a unique and affordable option for creating a stunning look. Our plastic ceiling tiles have been available on the market for many years.
These tiles are ideal for do-it-yourself projects or for giving an existing home or business a fresh new look. They are manufactured from high-quality polyvinyl chloride sheets and dimensionally embossed to create a 3D effect.
Our plastic ceiling tiles are available with various color effects. Some designs are hand-painted, which creates deeper color variations. The combination of the manufacturing process and artwork results in an extraordinary appearance with beautiful colors and effects.
These tiles can be used in homes, offices, hospitals, schools, hotels, motels, business complexes, and many other locations. Their quality and economical value are exceptional.
The PVC ceiling system is available in a 24″ x 24″ size and comes in more than 40 beautiful designs. Almost any color shade is available. A combination of two or more colors is also available.
You can also enjoy wood-like effects that resemble real wood grain. Metallic finishes include Gold, Silver, Copper, and Pearl Shine. These finishes create a stylish and distinctive appearance.
Advantages of the Decorative Ceiling System with Overlapping Edges
- Provides an extra and unique edge for your decoration.
- Multiple designs are available in a wide range of colors.
- Helps create a decorative ceiling that can complement almost any interior.
Before beginning your project, determine the intended use of the ceiling tiles. Then, calculate the number of tiles needed based on the actual dimensions of the space.
We recommend adding 10% to 15% for waste and cutting errors. For example, a 10-foot x 10-foot room has 100 square feet of ceiling area. Adding 15% brings the total to 115 square feet.
Each 24-inch x 24-inch PVC ceiling tile covers 4 square feet. Therefore, 115 square feet divided by 4 equals 28.75 tiles. Round this number up to 29 tiles.
Product Information
Max Depth: 8 mm
Pattern Size: 285 mm
Style: Traditional
- Material: Rigid PVC
- Size: 2′ x 2′ (4 square feet)
- Thickness: 0.50 mm
- Designs: 40
- Color: Any plain color shade
- Effects: Wood grain, Metallic, Pearl, Velvet, and more
- All designs are available in all colors
- Long-lasting and durable
- Wide range of designs and colors to choose from
- Can be painted with any good-quality paint
- Resistant to fungus and termites
- Convenient 2′ x 2′ size
- Washable with mild detergent
- Weatherproof
- Waterproof
- Lightweight and dust-resistant
- Recyclable
- Dimensionally stable
- Easy, quick, and inexpensive to install
- Non-flammable
- Anti-static and will not create static electricity like some other plastics
- Ideal for ceilings in almost any weather condition
Where Can PVC Ceiling Tiles Be Installed?
The decorative ceiling tiles can be applied to most hard, smooth, and clean surfaces. Suitable surfaces include plywood, drywall, plaster, ceilings, and walls.
For your convenience, the PVC ceiling tiles can be cut or trimmed with scissors or a box cutter. This allows you to achieve the desired fitting size.
These tiles are mostly used in commercial or residential projects where an expensive three-dimensional metal look is desired without the cost of real metal.
Plastic ceiling tiles can look like real tin. They can also provide an attractive appearance similar to real metal, including Copper and Silver finishes.
The PVC ceiling tiles with overlapping edges can be installed on any hard, smooth surface using a good-quality rubber-based adhesive. Recommended adhesives include DAP Original Gel Contact Cement and Loctite Power Grab All-Purpose Construction Adhesive.
Choosing the Right Adhesive
We prefer these adhesives for several reasons.
Contact cement adheres almost immediately upon contact. Contact cement gel also allows a short amount of time to maneuver the tile into its desired final position.
Loctite Power Grab All-Purpose Construction Adhesive provides more working time. The installer typically has an estimated 15 to 20 seconds to align and maneuver the tile into its final position.
Using PVC Tiles with Drop and Suspended Ceilings
PVC ceiling tiles designed for installation on a clean, smooth surface with overlapping edges can also be used with grid, drop, or suspended ceiling systems.
All PVC ceiling tiles can also be glued to existing acoustical ceiling tiles.
All of our faux-tin PVC glue-up tiles are available in a 2-foot x 2-foot size. This is a standard design size. However, customers should carefully consider the intended application before purchasing the tiles.
For example, PVC ceiling tiles designed to be glued to a clean, smooth surface measure approximately 24.5 inches x 24.5 inches from edge to edge. This allows the tiles to be installed with an overlapping edge of approximately 1/4 inch.
When these overlapping-edge tiles are used in a drop-in grid or suspended ceiling application, the actual design measures 24 inches x 24 inches.
The standard grid ceiling system in the United States is designed to accommodate a grid opening of approximately 23.75 inches x 23.75 inches. Always measure your existing grid before purchasing tiles to ensure the proper fit.
Installation Instructions for Overlapping Edges
Follow these four simple steps to install our 24″ x 24″ overlapping-edge decorative ceiling system on most clean, hard, and smooth surfaces. Installation is quick and easy.
1. Prepare the Surface and Plan the Installation
PVC ceiling tiles can be installed on most hard, plain, smooth, and clean surfaces. Some customers have even installed them over existing popcorn ceilings.
First, locate the center of the room or installation surface. You can also draw straight lines across the surface to create a 90-degree angle for your starting point.
A clean surface is necessary for proper installation. Wipe the ceiling or other installation surface clean and make sure it is smooth and even.
Remove loose plaster, paint, wallpaper, and oily residue.
Next, draw a chalk line through the middle of the room. If possible, run the line through the light fixture electrical box.
Before beginning, gather the following tools and supplies:
- Preferred adhesive
- Tape measure
- Straight edge
- Scissors
- Box cutter
- Cleaning cloth or moist sponge
We recommend that all customers test the application before completing the entire project. Allow the test installation to rest for at least 24 hours.
This gives you an opportunity to evaluate the installation process and results. It also helps you determine whether the application is appropriate for your particular project.
2. Apply the Adhesive
Apply a good-quality urethane- or rubber-based adhesive to the edges and raised portions on the back of the PVC ceiling tile.
We recommend DAP Weldwood Original Formula Contact Cement Gel or Loctite All-Purpose Construction Adhesive.
If you are using contact cement, allow it to dry until the adhesive solvents evaporate. Check the drying time on the adhesive package. It is usually between 2 and 5 minutes.
Applying adhesive to both the tile and the ceiling can also improve bonding and strength.
Approximately 1 gallon of adhesive will cover about 75 tiles, or approximately 300 square feet, when adhesive is applied to both the tiles and the ceiling.
3. Place and Press
Place the tile in the required position. If you are using the 90-degree starting point, position the first tile at that point.
Press the tile firmly but gently.
Overlap the edge with the previous tile. Then, press firmly with your fingertips using gentle pressure.
After completing the first straight row, work your way toward the sides.
Be careful not to get adhesive on your fingers or on the visible surface of the ceiling tiles.
4. Special Notice
Contact cement adhesive can easily get onto your fingers and then transfer to the ceiling tiles.
These adhesive smudges can be difficult to remove. The solvent used for cleaning can also distort the paint color of the tile.
For this reason, use care when applying the adhesive and handling the tiles.
Congratulations!
You now have a beautiful decorative ceiling!
Reviews
There are no reviews yet.